
I've recently been taking my Bitcoin custody and privacy more seriously. That means different things to different people, but for me it means moving towards services that better embody the ethos of Bitcoin; open sourced, decentralized, and self-custodied. Like many of you, I started my crypto journey holding coins on exchanges. Soon I learned hardware wallets were a better tool to secure your coins so I got myself a Nano Ledger S.
Knowing what I know now, I probably would have purchased a different hardware wallet, but my Ledger has nevertheless performed well. For a new user, a Ledger is a great hardware wallet. Their software Ledger Live is also perfectly fine for a new user with its simplicity, but if you're looking to take your Bitcoin custody more seriously, there are better options such as open source and privacy focused Sparrow.
In the developer's words, "Sparrow is a Bitcoin wallet for those who value financial self sovereignty. Sparrow’s emphasis is on security, privacy and usability." It's also designed for both beginners and advanced users in that it does not hide any data from you the way tools like Ledger Live does. If you want to micromanage your UTXOs(which you should), it empowers you to do that. On the other hand, if you don't even know what a UTXO is, that is fine and you can still use Sparrow.
For our purposes here, the important thing is that it integrates cleanly with Ledger devices. Here's the simple process to switch away from Ledger Live to Sparrow. These steps are virtually the same even if you're using another hardware wallet.
Download & Verify Sparrow
Head over to Sparrow's download page and follow the download and verification instructions. I know you'll be tempted to skip the verification steps. Take it seriously and learn something. You'll encounter this challenge again in your Bitcoin journey so give it a go.
Connect Sparrow to the Bitcoin Network
You'll be presented with a welcome screen when you first open Sparrow that explains a bit about Sparrow's offline and online modes. Offline mode is primarily for more serious privacy and security focused use cases. For most users who want to simply receive and send transactions without too much friction, leaving Sparrow in online mode will be fine.
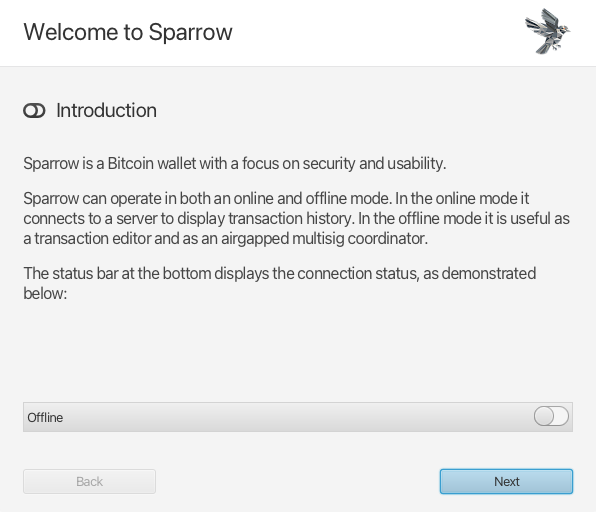
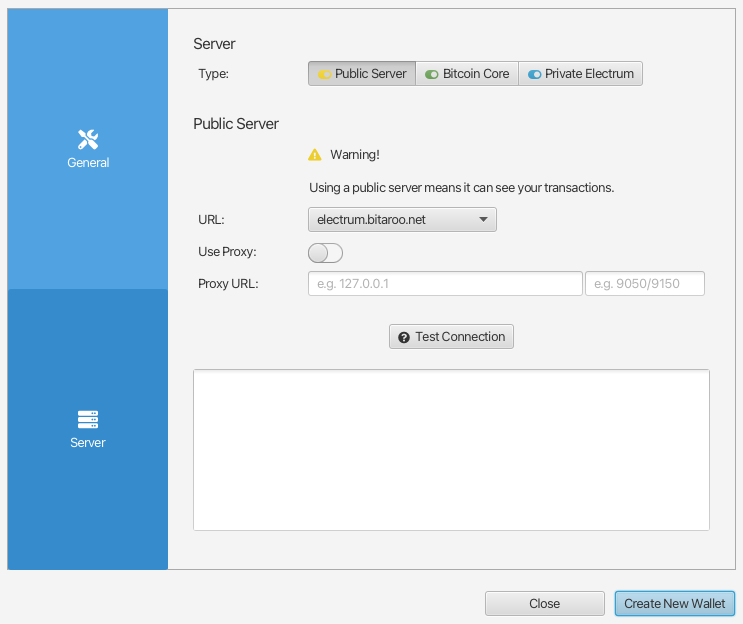
Online mode requires connecting to the Bitcoin network via a node that will be your relay for downloading and broadcasting your transactions. Sparrow will show you three server options: Public Server, Bitcoin Core node, and Private Electrum Server.
In an ideal world, you have your own node, but that is a more advanced setup to consider in the future. The easiest option is to connect to a public server. There are some privacy downsides to using a public server, but if you're coming from Ledger Live, you've already revealed the same information through their servers. Moving to Sparrow is a good first step to better privacy. Take the next step with your own node or Electrum server when you're ready.
Once you go through the connection options, you'll be asked to configure your connection. Choose 'Public Server' and click 'Create New Wallet'.
Create Your Wallet
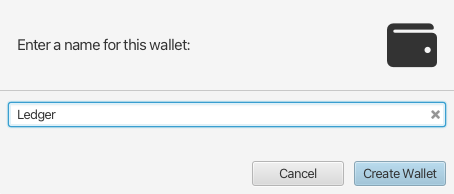
Give your wallet a short and descriptive name.
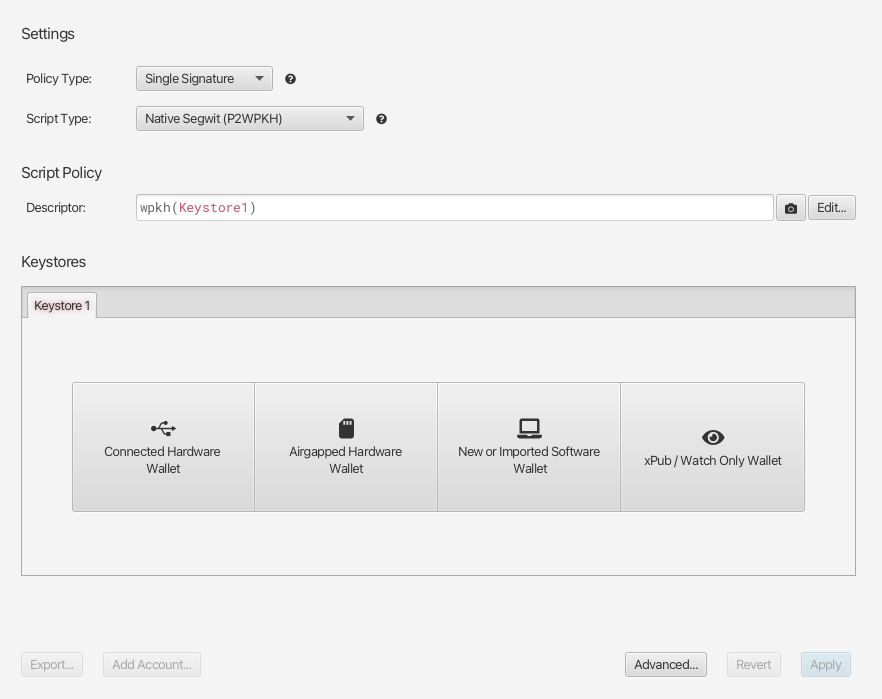
Now you'll need to choose a 'Keystore' for your wallet. Select 'Connected Hardware Wallet' to configure your Ledger.
Your Ledger device must be unlocked and the Bitcoin app must be open to be discoverable by Sparrow. If your Ledger is not in this state, you'll get a 'No hardware wallets found' error. Assuming the scan is a success, you'll see your Ledger pop up in the list and you can click 'Import Keystore'. This imports your public keys and Bitcoin addresses into Sparrow. Private keys never leave hardware wallets.

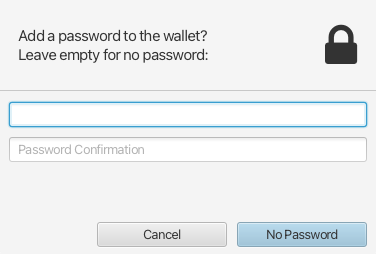
You can set a password for additional security.
If all goes well, you'll see the following screen. Hit 'Apply' to complete the import.
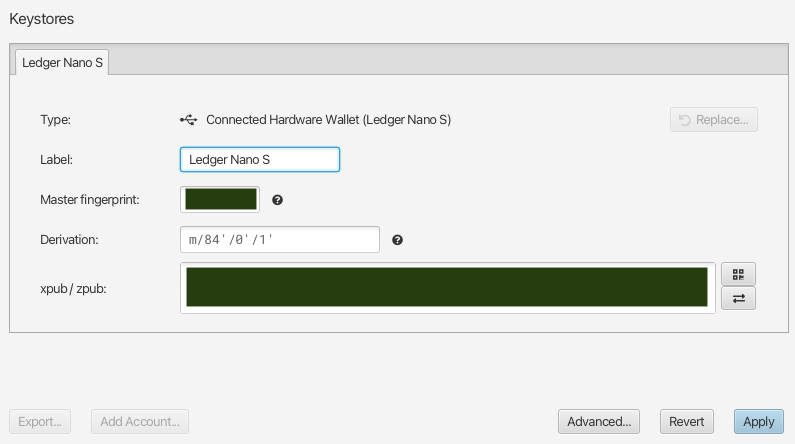
Done! Sparrow will use your public key to calculate all your addresses and then look up past transactions which will be displayed in the 'Transactions' and 'UTXOs' tabs.
Add Accounts (Optional)
If you've ever created additional Bitcoin accounts in Ledger Live, you'll need to import these as well. This is very simple. Go to the 'Settings' tab and look for the 'Add Account' button.
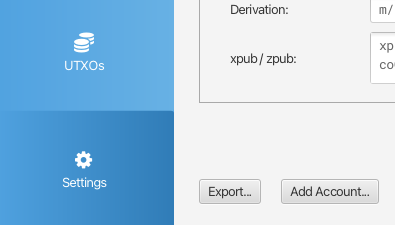
Sparrow will show you a list of account numbers. 'Account #1' will be the second account you created in Ledger Live. 'Account #2' will be the third and so on. Adding each account works the same as the initial wallet setup you did in the previous step.
What Next?
Take a look around Sparrow and take note of how much more detailed information it provides you compared to Ledger Live. This information, when used correctly, can significantly improve your Bitcoin management and general understanding of how Bitcoin works under the hood. Check out Sparrow's documentation if you'd like to learn more.
