Accepting Bitcoin as payment or as a donation on your website seems like it would be a particularly thorny technical problem for a non-technical person. You might be surprised, however, just how simple it is. Of course if you're expecting to receive a significant volume of Bitcoin on your website, you'll need to consider accounting and tax issues. I'm here to tell you that at least the technical part is less complex than you probably imagined.
In this tutorial, I'll walk through how to add a simple Bitcoin donation button to your website in only five minutes. This implementation can also be used with minor tweaks to accept payments for freelance work or even selling digital or physical products. Recurring subscription payments won't easily fit this model.
We'll be using two services to implement our payment interface.
- Voltage: Simple to use, hosted Bitcoin infrastructure with plug-and-play, open source software. Available as a 7 day free trial and then $0.012/hour which works out to about $8.76/month.
- BTCPay: A self-hosted, open source cryptocurrency payment processor. It's secure, private, censorship-resistant and free.
Set Up Voltage
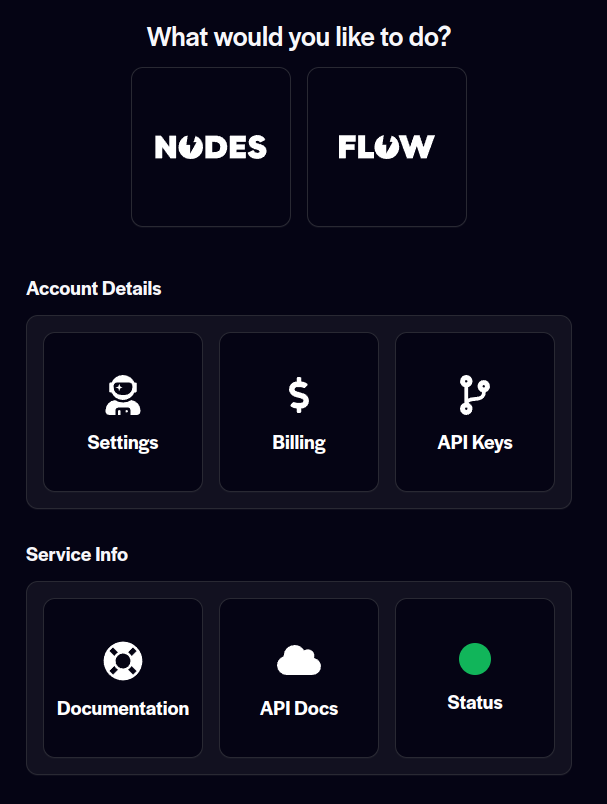
First, we need to create an account and node on Voltage. Once you've registered, you'll be presented with the following screen. Hit 'Nodes'.
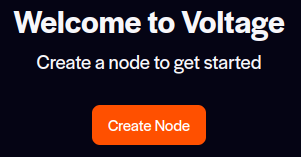
And then 'Create Node'.
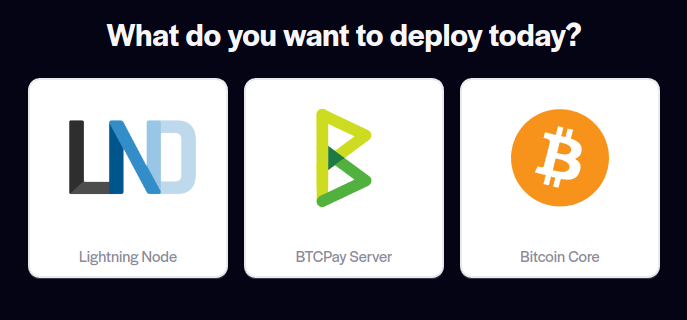
We'll piggyback off of Voltage's Bitcoin Core node allowing us to go straight to choosing BTCPay Server.
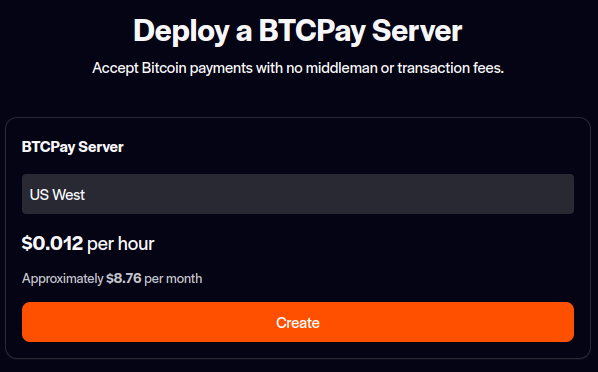
For the moment, BTCPay Server is only available in the US West region. Hopefully they'll add other regions soon. For now, confirm the cost looks acceptable to you and then carry on to deploy your BTCPay Server.
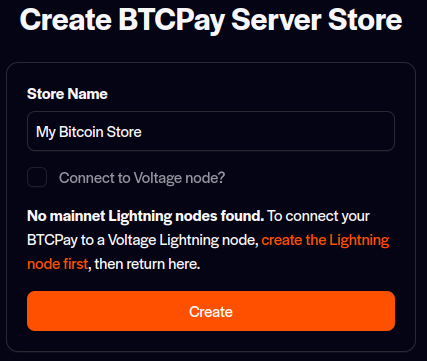
Give your store a name. Ignore the text about Lightning nodes unless you're running a Lightning node on Voltage.
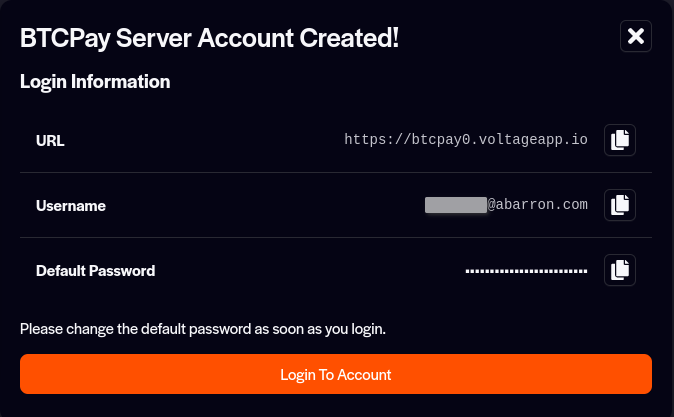
Easy. Your server has been created and deployed. Store your credentials presented here, but note that the first thing we'll do once we're in the BTCPay dashboard is change your password. Proceed to login to continue.
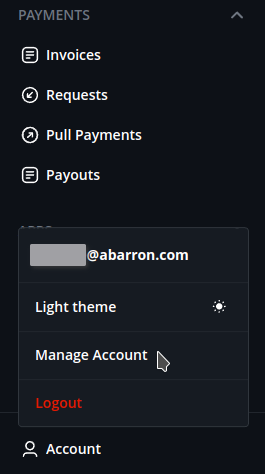
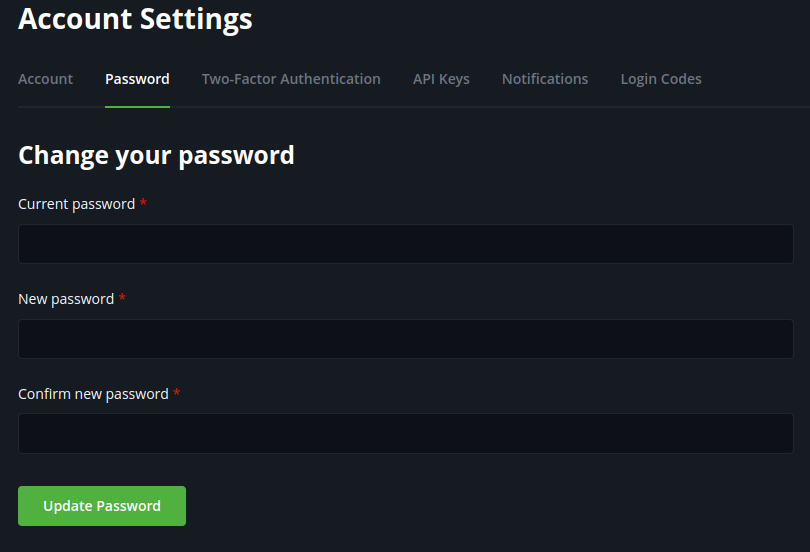
Before we get to the fun part, let's change that default password. Navigate to the bottom left corner of the sidebar and click 'Account' and then 'Manage Account'.
Pop over to 'Password' and pick a long, secure password.
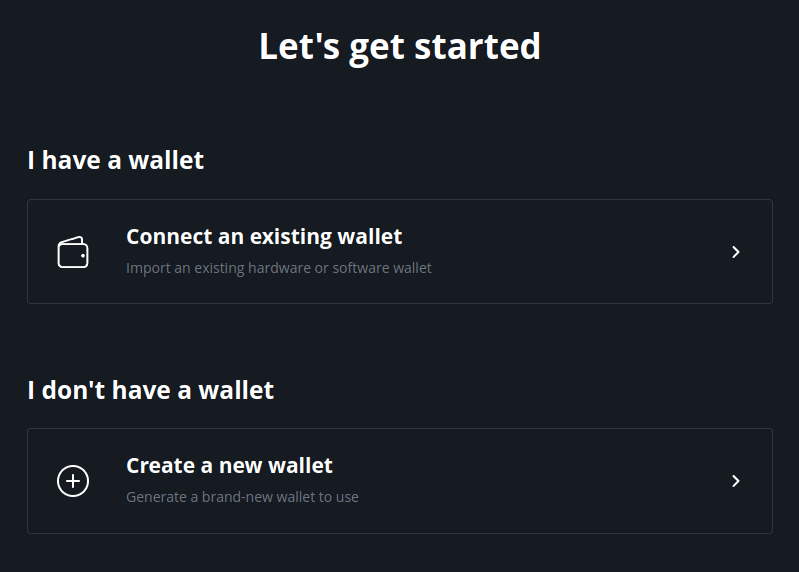
In the sidebar, click 'Bitcoin' under 'Wallets' to create or link an existing wallet. It's more secure to connect an existing wallet because creating a new wallet on BTCPay creates a hot wallet that can more easily be hacked. We'll be following the steps to connect an existing wallet.
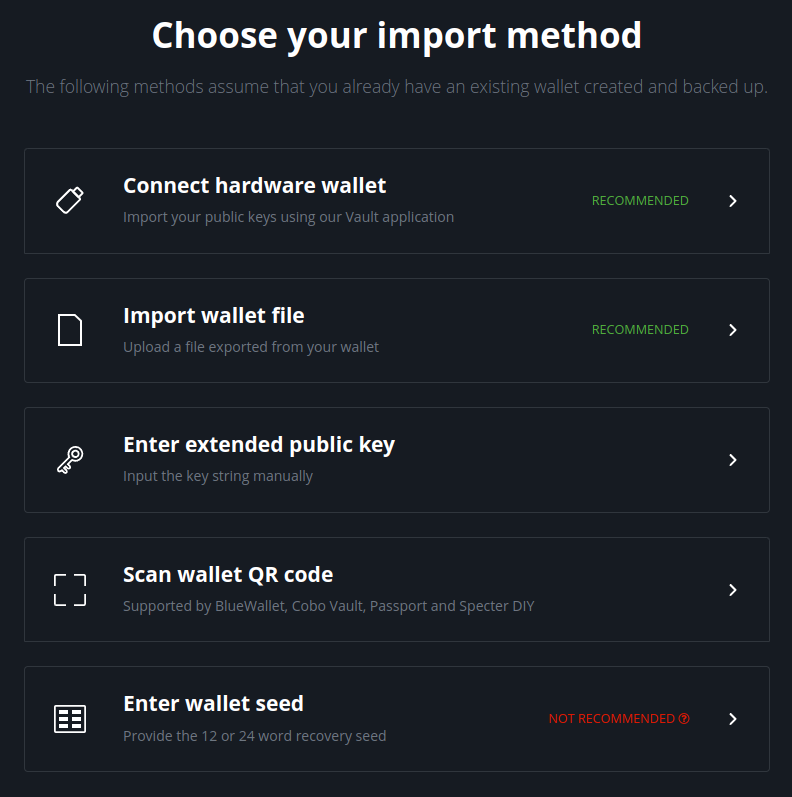
Several import methods exist. In my opinion, entering an extended public key is the simplest if you're already using a hardware wallet with software that exposes the xpub/zpub easily such as Sparrow. This will route your funds directly to cold storage. Consider creating a new account in your wallet software with a descriptive name related to BTCPay or your website. Make sure you give BTCPay the xpub/zpub from the newly created account instead of your other accounts.
My second choice would be connecting a hardware wallet. This will require a bit of extra time in order to download and setup BTCPay's Vault software. Follow the steps for that here.
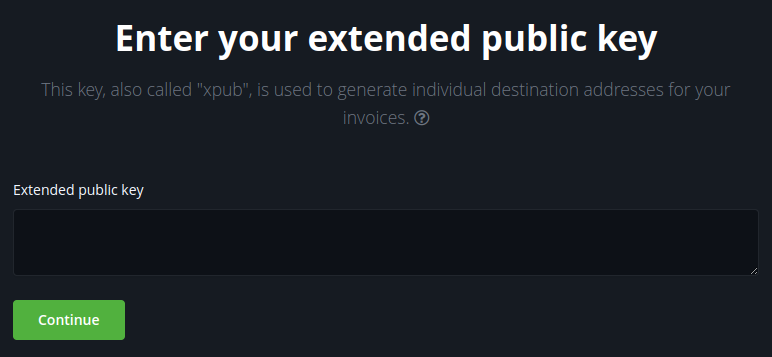
Paste your xpub/zpub if you're following that option.
Assuming you copied your xpub/zpub correctly, the next page will list your first 10 addresses calculated off that public key. Be sure to check this against your wallet software. This is very important. Badly entered public keys will cause Bitcoin to go to addresses you don't control.
If you use Sparrow, check the 'Addresses' menu to compare that list to this one. Other wallet applications should have similar lists with your addresses.
If not, you can check the addresses from past transactions(must be the first 10 ever used). If it's a new wallet or account, use the receive functionality of your hardware wallet to generate an address and ensure it's in the list BTCPay generated.

Next, we'll create an app that will function as our payment receiver. In the sidebar, click 'New App'.

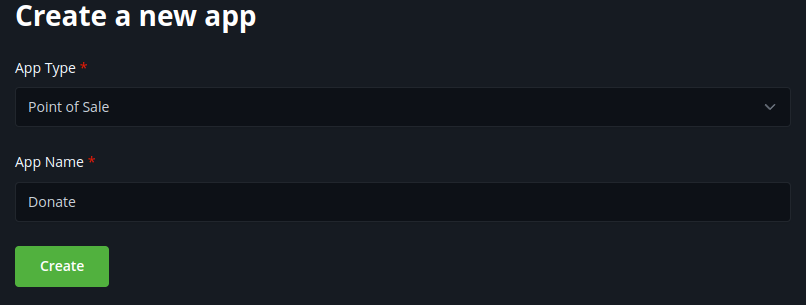
Keep the default 'App Type' of 'Point of Sale' and add a name for this app. This name doesn't get displayed to the user.
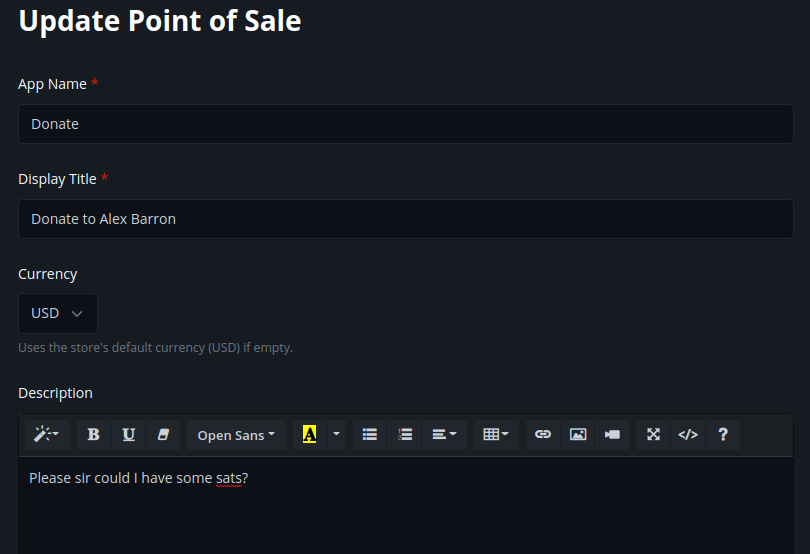
Enter a 'Display Title' which will be displayed to user and a description.
You can also adjust the fiat currency your store will use. It looks like a dropdown, but clicking the dropdown arrow, won't show all the options if USD is still populated. Clear the text and type in the 3 letter code for the currency you want if you're not using USD.
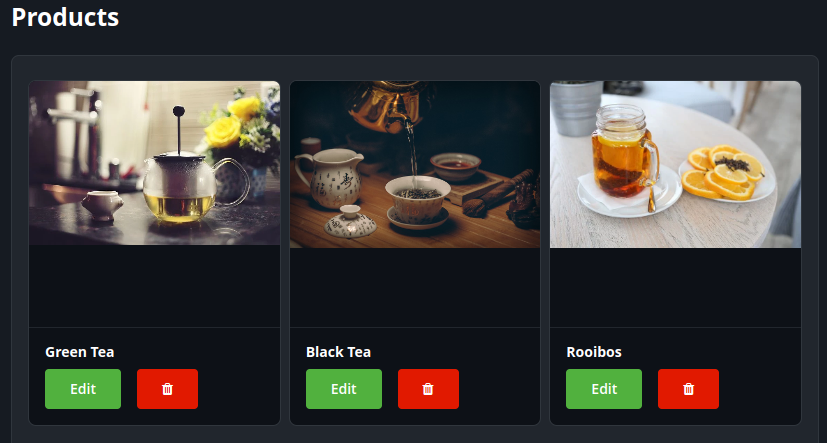
There will be several products auto-generated under 'Products'. You should delete all but one of these unless you really like tea or something.
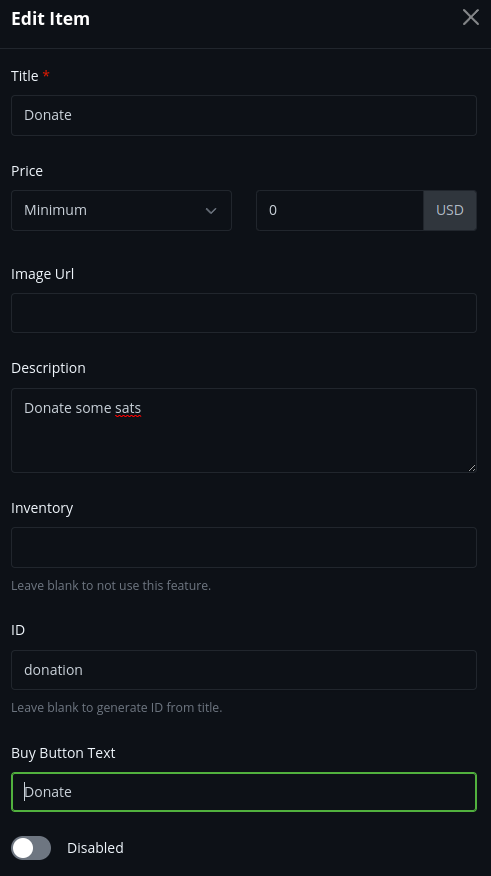
Edit the product you didn't delete. Put 'Donate' or whatever you want as 'Title'. Set Price to 'Minimum' and '0'.
The remaining fields are optional. Do as you wish to spruce up your point of sale. Click 'Save' once you're done.
Leave everything under 'Appearance' as is and make sure 'Custom Payments' is disabled. Users can still input whatever payment amount they want the way we set it up.
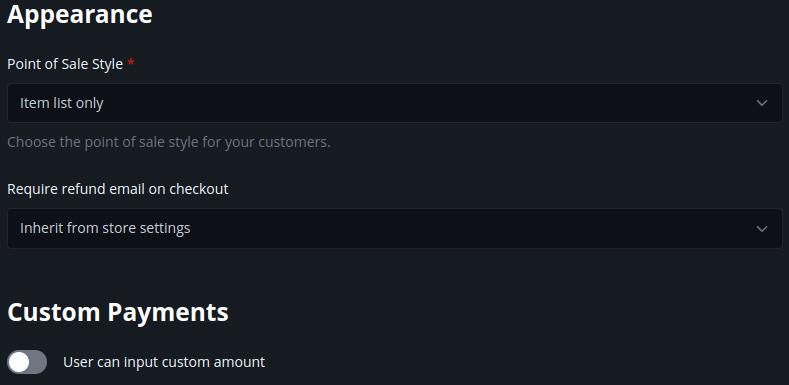
Under 'Additional Options', you can optionally add a redirect URL after the user completes payment. For example, if you want to send them to a thank you page.
Once you're done with all these options, click 'Save' in the upper right corner. It's easy to miss.
Now, you can finally add this to your website. The iframe option will be the easiest in my opinion. Copy the whole iframe HTML under 'Embed Point of Sale via iframe' and paste it into the appropriate page of your website. Make sure you've enabled raw HTML access for whatever content management system you're using.
If the store doesn't fit the iframe well(it didn't for me), you need to adjust the dimensions. In my case, I had to add height by updating the style field. See example below.
<iframe src='https://btcpay0.voltageapp.io/apps/XKrNPjtnLCq4kuKRpYgzAn4PAxo/pos' style='height:1000px;max-width: 100%; border: 0;'></iframe>
You can also link to the payment page using the payment button HTML BTCPay Server generates for you.
Or you can simply send people the link to your payment page if you don't want it on your own site. Grab the link from the iframe HTML after where it says 'src'.
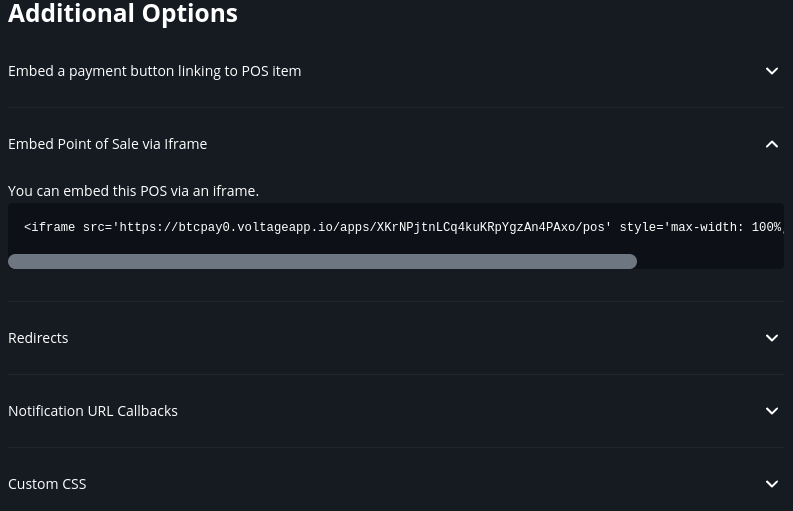
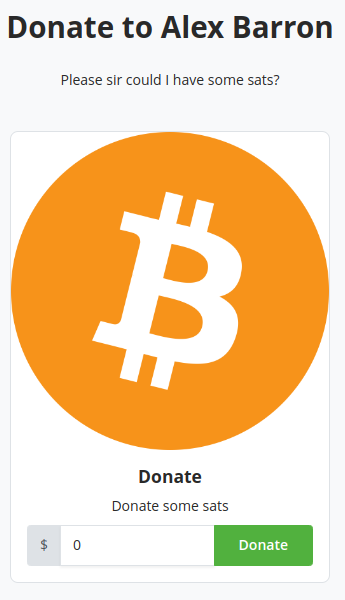
Success! You can now accept donations/payments in Bitcoin. Give the flow a test with a small amount and make sure the payment gets routed to an address you control.
Voltage Billing
If you intend to keep using Voltage beyond the free trial or free credit(I received $10 free credit just for creating an account), you'll need to add credit to your account.
Head back to your Voltage account page. Click 'Billing'.
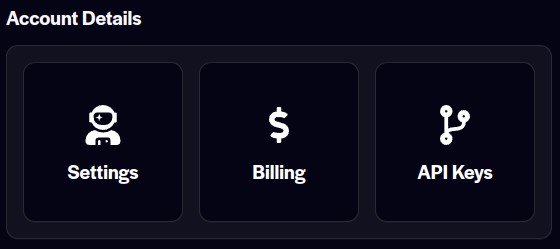
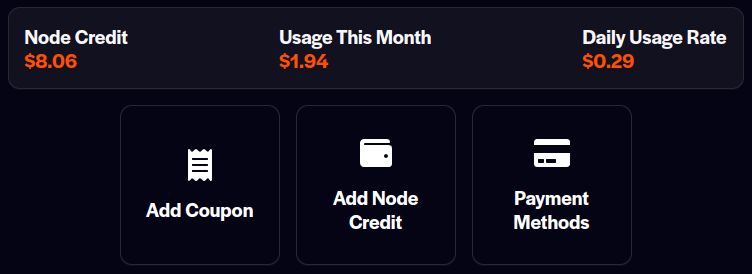
On this page, you'll see a full overview of the costs of running your node and how much credit you have left. Add credit to keep the satoshis flowing in. Voltage accepts Bitcoin, Lightning, and credit card payments.
